CLICK HERE FOR FREE BLOGGER TEMPLATES, LINK BUTTONS AND MORE! »

8.30.2010

Fantabulous Cricut: "Road Trip" Car Card

This week's Fantabulous Cricut challenge is called "Road Trip":  Make a project incorporating a vacation or travel.  I love this car from the Cricut "Just Because Cards" cartridge.  It's so vintage and cool!

For this card, I cut the layers of the car and adhered them together, inking each of the pieces.  I added silver paint (paint pen) to the bumper to make it look more realistic.  Then I added rhinestones for the headlight and tailight.  I adhered a strip of embossed (Cuttlebug Swiss Dots folder) paper to the bottom of the card base and adhered the car to the card with foam dots.

To finish, I cut the sentiment, "Getting there..." and adhered it to the front and added flowers accented with mini buttons.  The inside says, "...is half the fun!".

Hope you'll head over to FCCB and check out the other FANTABULOUS design team projects!  Be sure to link up your own "road trip" project by next Sunday for your chance to win this week's prize!!! 

Happy crafting!  :)

8.28.2010

I Met "Dear Lizzy" Today!!!

The owner of my local scrapbook store won a contest, the prize for which was a class taught by Elizabeth Kartchner (aka "Dear Lizzy")!  Now if you know me well, you know that I absolutely idolize this girl!  I just love her scrapbooking style and if I had to choose a "celebrity" to meet, she would be it!!!  The second I heard she was teaching a class here I called and reserved a spot!

  Here's a photo of us from this morning:
She taught a super-fun class and we got a TON of the American Crafts Dear Lizzy Collection supplies!
We made this super-adorable layout, with my favorite...handmade flowers!  It's not done yet...I still need to add the main photo and a strip of smaller photos on the pink piece of cardstock:
And we also made a super-cute mini album out of just 4x6 photo protectors!  This one needs the photos, too.  After adding the photos, I'll punch the holes through the page protectors and tie the ribbon:
One product we used today that I fell in love with is the adhesive backed fabric paper...it's awesome!  You can fray the edges of it really easily to give that shabby chic feel to your projects.

Super-dork here also had Elizabeth autograph my "52 More Scrapbooking Challenges" book which she authored.  In my defnse, though, I wasn't the only one that asked her to!
This was seriously the highlight of my year!  Thanks Lizzy for a FABULOUS class!

8.26.2010

Margarita anyone??? TAG SWAP!

I am so excited I get to participate in my first swap!  Kathy over at Paper Phenomenon is hosting this one and we are swapping summer-themed tags.  How fun!

I decided to make a margarita tag...problem is, I don't have a margarita cut in my cartridge library.  :(  So, .cut file-searching I went until I came across Jade's blog, Handmade By Jade and her super-cute (and FREE!) margarita glass .cut file!  Go check out her blog...it's awesome!

I wanted the margaritas to look realistic and I think I accomplished that because every time I see them, I CRAVE a frozen margarita!  Hee, hee...  All pieces were cut using Jade's file and Cricut Design Studio.  The base is made from a thin chipboard, lined with white cardstock (with a green piece on the back).  Then I cut each margarita glass again in Bazzil Bling green cardstock.  I trimmed the green pieces to give me the inside drink and the top of the drink.  I also cut the glasses out of a transparency...then inked them with white Staz-On ink to make them look "frosted".  I adhered all of those layers together and had the base of my tag.
To embellish, I added layered flowers with green brads to the bottom of the glass.  Then I added Glossy Accents around the rim of the glass and sprinkled my new FAVORITE thing:  Diamond Dust.  This stuff is AWESOME!  It comes from Michaels and is made from ground up glass.  Just sprinkle it on and ta-da...instant salt rim!!!  (I also added some Diamond Dust to the brads in the flowers).

Next, I set a large eyelet in the upper left corner of the drink, and tied ribbons through.  For the lime, I used white shrink plastic and cut circles with my Cricut.  Then I drew the lime with a light green Sharpie marker, punched a hole in the corner and shrunk it with my heat gun.  I attached it to a ribbon with a silver ring.

So that's it!  I really hope my swap partners enjoy them.  Thinking about making one for myself now!  :)

Happy crafting!!!

8.25.2010

"Cherry On Top" Blog Award!

I am so tickled that Brandi from "Scubascrapper Brandi" chose me to receive the "Cherry On Top" blog award!  Thank you Brandi!!!

The rules for receiving this award:
1.  Thank the person that passed it to you (check!)
2.  Copy award to your blog (check!)
3.  List three things you love about yourself
4.  Post a picture that you love to your blog
5.  Pass the award onto 5 others

Three things I love about myself:
1.  I am creative...I love being able to think something up and create it using my hands.  I've been a crafty-girl for as long as I can remember!
2.  My love for my children...my heart can't keep it contained!  I know my kids know they are loved and that's the most important thing I can give them as a mother.
3.  My sense of humor...it's so important to be able to laugh at the little things when everything you see on the news and read in the paper seems so negative.
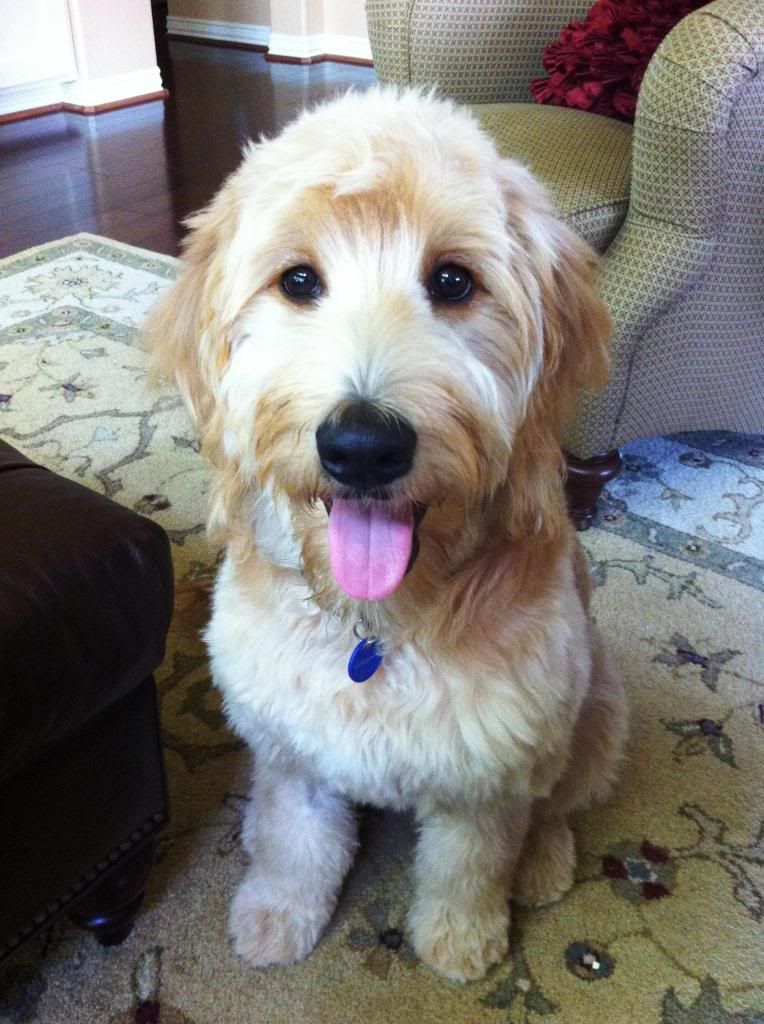
Here is one my most favorite photos at the moment...my dog, Duke, was just diagnosed with terminal lymphoma and I snapped this photo the day of his diagnosis.  It's bittersweet for me, because I know the day this was taken he was given his diagnosis, but I also see what a beautiful creature he is and how he will be missed...

Okay, time to pass this award on.  Here are my five:

1.  Linda at The Paper BoutiqueI love tutorials and this lady does them fabulously!  I love seeing what awesome new projects she'll teach me how to make next!

2.  Christine at Creating With Christine:  I just love her style and she posts some truly unique projects that are sure to inspire you!

3. Denise at Paper Pastime:  I love her super-creative projects and visit her blog frequently for inspiration!

4.  "The Bean" at Greenbean's Crafterole:  If you haven't seen Greenbean's AWESOME blog, you are definitely missing out!  She comes up with the most amazing ideas and turns them into FAB creations!

5.  Kathy at Paper Phenomenon:  I am addicted to mini albums and this is one of my go-to gals for inspiration! 

8.16.2010

Gone Fishin' Layout: Fantabulous Cricut Challenge #23

The challenge over at Fantabulous Cricut this week is called "The Great Outdoors":  Create a project with an outdoor activity.  We just recently got back from a trip to the river with family and I knew exactly what photos I wanted to use on this project (and what paper I wanted to use...this super-cute fishy paper from 3 Bugs In A Rug)!

The Mess Maker had her first fishing experience, which lasted all of about 1 minute...the moment the fish came out of the water she took off!  Oh well...she takes after her father.  :)

For this layout, I used the Create a Critter cartridge for the fish and Plantin Schoolbook for the title.  I added an eye brad to the fish, and cut a hook and added twine, wrapping the end around the "i" in "fishin'".  The letters in "fishin'" were embossed with the Tiny Bubbles Cuttlebug folder. 

To finish, I pleated some fabric ribbon and added brads to secure it.  I threaded several buttons and adhered them randomly.  And I printed the journaling, cut it into strips and then adhered them at the bottom of the page.

This layout is based on a sketch by Pencil Lines, found HERE:
Thanks for looking and be sure to head over to FCCB and check out the prize up for grabs this week!

Happy Crafting!!!  :)

8.15.2010

Horse "Happy Birthday" Card

My grandma was having a hard time finding a horse-themed birthday card for one of her great-grandkids that loves horses...so I made her this one to give him!  I made this one a 5 1/2" x 8 1/2" card since kids like big cards!!! 

I used Create a Critter for the horses (using the "flip" feature on one of them), and used Melin's Face Tutorial for the eyes.  I inked the white card base with two colors of blue ink to make the sky.  Then I tore two colors of green cardstock to make the hills.  I snipped narrow strips into a 3/4" x 8 1/2" strip of the lighter green and ahdered it in front for grass.  Then I hand cut the fence poles, inked them and adhered them over the grass, adding twine behind them to complete the fence.  The clouds are also from Create a Critter.  For the "happy BIRTHDAY" I used CTMH stamps and inks (as well as for the inking on the individual pieces).

I hope he (and my grandma) likes it!  Thanks for looking and have a creative day!  :)

8.13.2010

Cupcake Birthday Invitations

A friend of mine asked if I would make her daughter's first birthday invitations...such an honor!  She wanted cupcakes, so I scoured my manuals and let her decide which cupcake she wanted.  She picked this one from Once Upon A Princess.  It's actually the first project I've made with this cartridge!!!

She wanted pink and green with a little bit of "chocolate" thrown in.
I used Bazzil's Swiss Dots in a light green shade for the top layer of the cupcake liner and a solid green underneath.  The base of the invites (welded together in Design Studio) are white.

The pink layer of frosting was embossed with the Cuttlebug (Divine Swirls folder).  I inked everything and then added pink rhinestones on top and finished with a sheer pink bow.

Happy 1st Birthday Jacqueline!!!  :)

8.09.2010

The Wiggles Show!!!

(Sam, Jeff and Murray in "The Big Red Car"!

The Mess Maker took me to The Wiggles Show Sunday!  Such a treat.  She had a great time, singing to her favorite songs and clapping for Anthony and Dorothy the Dinosaur (her two faves!).  Here are some photos of the show:
Close-up with Anthony carrying Dorothy the Dinosaur in the aisles
Close-up with Captain Feathersword...in a popcorn suit???
Close up with Murray
Jeff, who did most of the "acrobatics", is FIFTY-SEVEN years old!!!
Dorothy doing her dance
The Mess Maker getting a better look at the show (and yes, holding a bag of popcorn brought from home...I'm cheap when it comes to paying $4.00 for a small box of overcooked popcorn!)

She had a blast with one of her friends from preschool, "jammin'" to the tunes.  Definitely worth the $$$ to experience them in person, with their audience interaction, and Austrailian charm!!!

8.04.2010

"Rough Day?" Lobster Card (FCCB)

This week's challenge at Fantabulous Cricut is to make a summer bar-b-q/cooking themed project.  I must apologize that I am JUST now posting this on Wednesday night!  I've been out of town and completely forgot to post it before I left!  We went to the river and no computer access, but it was nice to get away and just spend time with the fam!

For this project, I used Cricut's From My Kitchen cartridge for the lobster and pot.  I inked everything for detail.  Then I cut the oval with George and stamped "Rough Day?" and mounted it on the pot with foam dots.  I inked a Faux stitched border around the pot and added square brads in the corners.

Head over to FCCB to enter your own food/cooking themed project and your chance to win this week's FANTABULOUS prize!!!  :)

Happy Crafting!